

Taking photos is one of my passions. I love photography and everything that comes along with it. I love the idea of scenic backdrops, using nature to set the scene, beautiful props and making everything come together. Although I love shooting outdoors, taking my kids out to a park to photograph them every day is just not realistic. And now with our third, it’s more realistic to get in a few shots here at home while the baby is napping. I promised to go into more detail about my photography and how I set everything up. Today I want to show you just that.

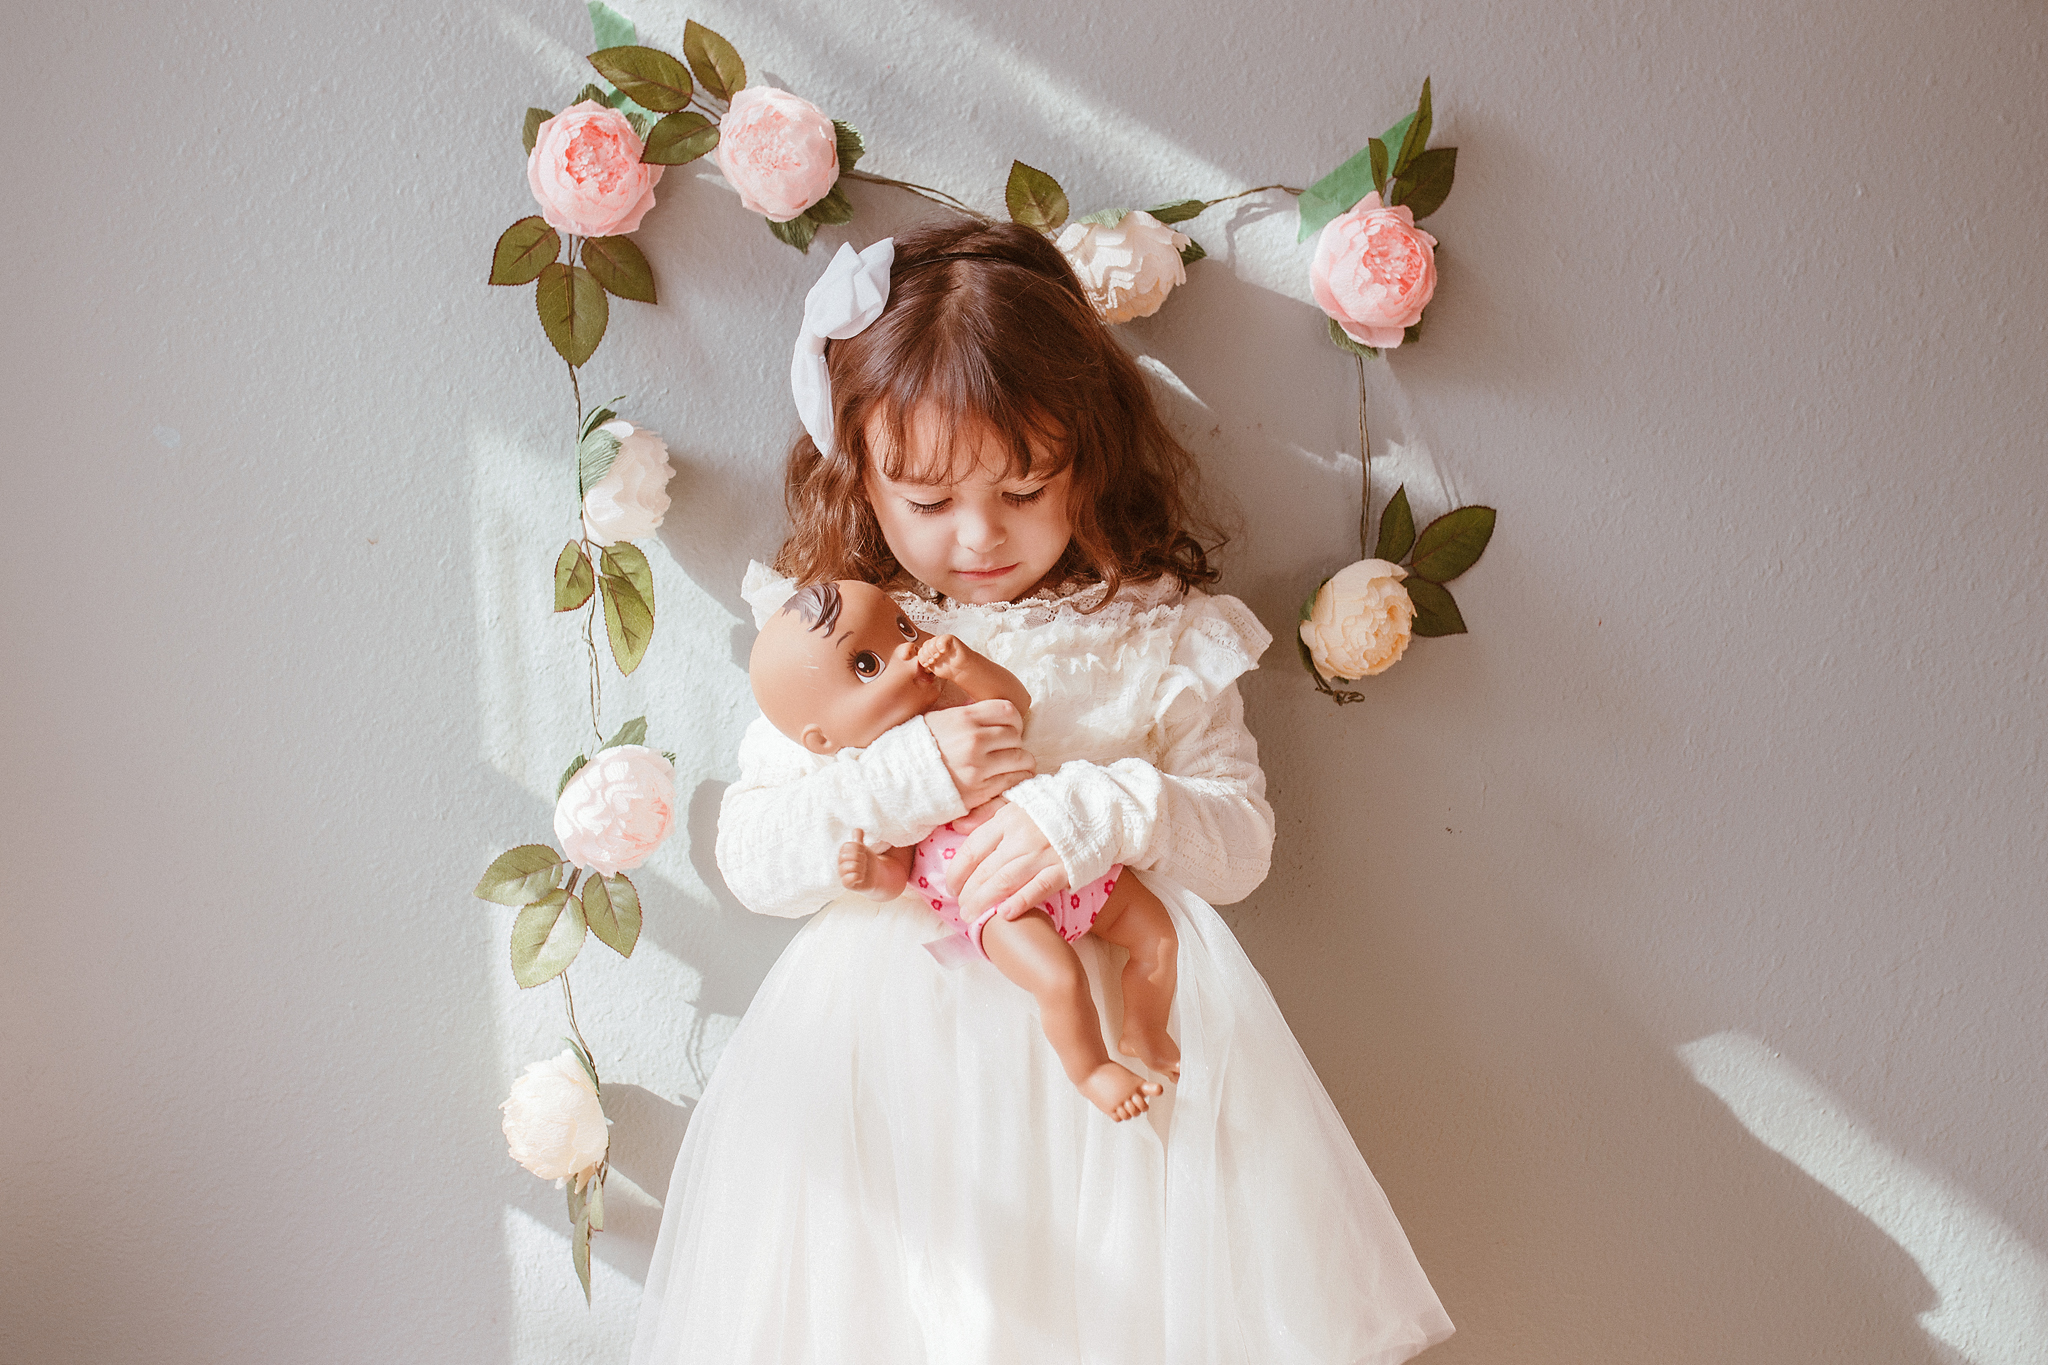
The photos that I am using as an example were taken in about 15 minutes while the baby napped. The girls had received these gorgeous dresses as gifts and I wanted some photos.
First, take a look at a shot of the space we were working with. It was a tiny wall in our dining area between a large window and our dining table. You can see that my gallery wall starts near there too. It wasn’t much space, but the light was great and it was enough to get some shots of the girls.

Here are a few tips to help you setup for your mini-shoot and make the most of your indoor space.
- Lighting – Pay attention to the lighting and think about what you want to achieve. When you are indoors it can get a little tricky because your lighting in your rooms will change as the time changes. Look around at your windows and look for spots where you have nice, even, diffused lighting. Also look for lighting that can make your photos a little more interesting, such as indirect sunlight that creates shadows. I tend to be more attracted to this type of lighting. Natural light is by far the best light to shoot in, the colors are more natural and warm and images just look better. If you don’t have decent lighting in your home you can get a lighting setup such as this one.
- Props – You don’t need props to make your photos look great, sometimes just the right lighting and the mood will set the tone and make an amazing photograph. However, if you are working with something similar to what we had today – a small space and blank wall, sometimes adding something a little extra can make the difference between a snapshot and a great photograph. I used two floral garlands I already had. One is from Flora & Peg here and the other I got from Etsy here.
- Editing – Editing can really enhance your images. There are many free photo editing programs out there you can use that are very simple and user-friendly. I personally use Lightroom and Photoshop. If you don’t have a photo editing program download one or if you prefer to use your phone apps you can do that too! To me, photo editing is what brings everything together. I never post anything online un-edited and I won’t print photos for my wall that are not edited. Editing can do so much for images and you can even fake good lighting too!You can see that the bottom photo is cropped in a lot more than the top, which gives it a bit of a different perspective.
- Posing – Don’t over-pose your subjects, especially if your kids are young like mine. If my kids feel like I’m trying to pose them they won’t cooperate. Put them in place but then let them be. I asked my kids to bring their favorite toys and then I just asked them to hug and hold them and then I shot away. Don’t tell them to smile or yell to look at the camera, trust me – it works against what you’re trying to achieve.
Personally, I like more natural shots anyway.

