
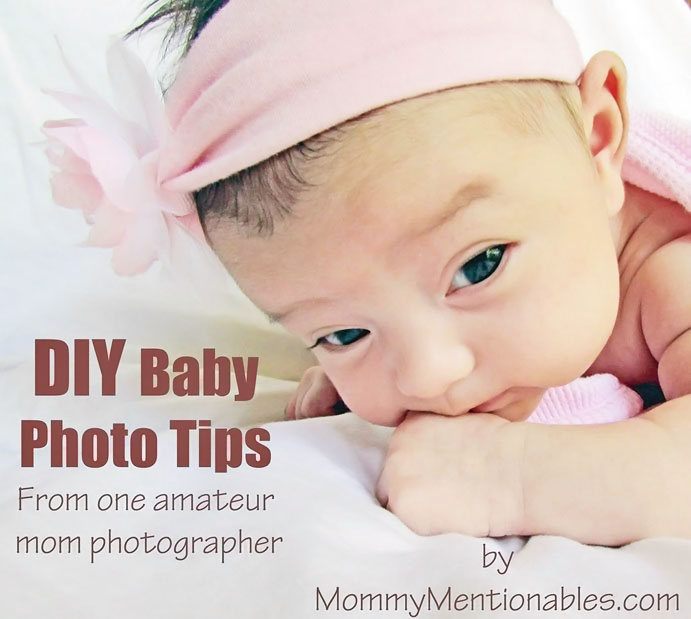
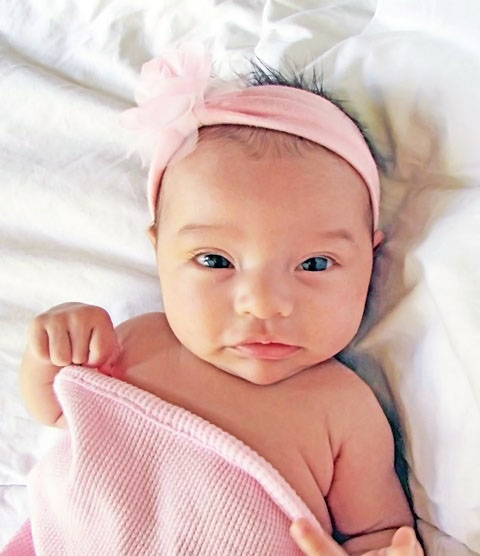
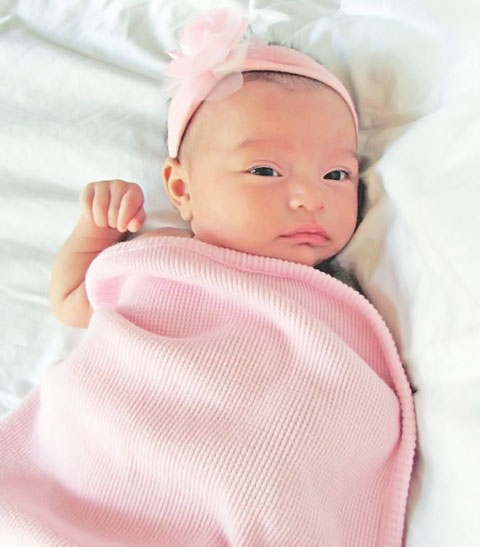
So I’m super excited to write this post today. I have been planning for weeks now to take pictures of my little one. We skipped the professional newborn pictures with her because I told myself that I wanted to take the pictures of her. I LOVE taking pictures and who can resist new baby pix 
So 5 weeks later, here we are. I thought I would share with you some tips that I used to help me take the pix.
The camera I used for these photos was a Canon Power Shot SX500 IS. I used the Portrait setting. This is NOT a DSLR camera.
Update: I am now rockin the Canon EOS 6D DSLR camera and I am loving it!!
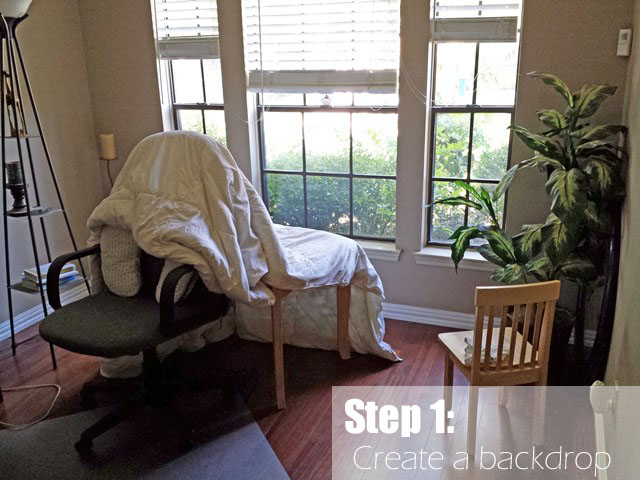
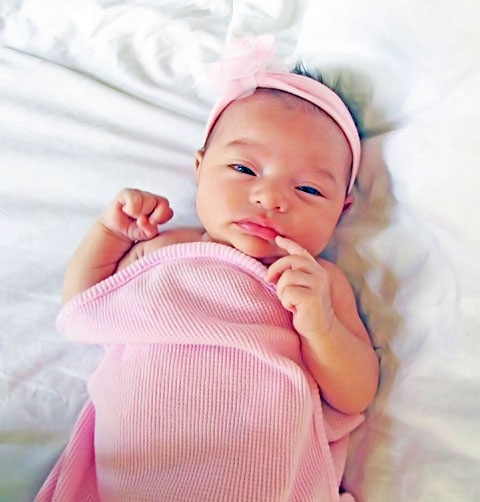
Here is what the setup looked like. Our office area has a lot of natural lighting, which is perfect for pictures. So I used a white comforter and draped it across a table we had. Then I used our office chair and draped it over that to give it a white backdrop. I picked up the shades and bam! We got a perfect little setup for baby pix

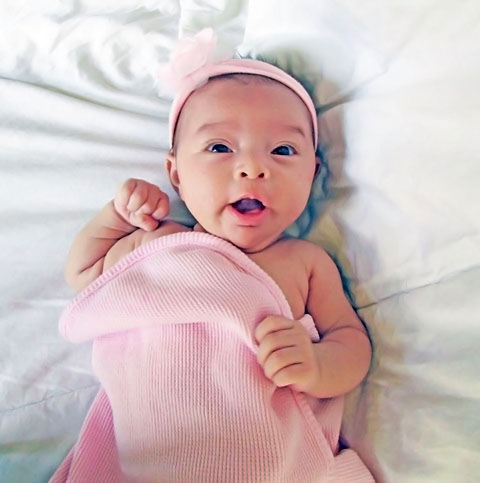
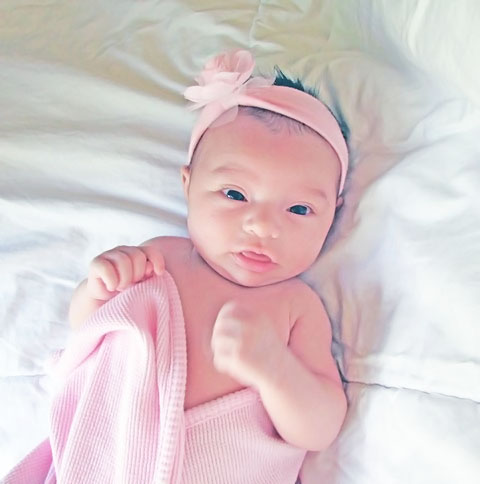
At first she wasn’t having it, babies are squirmy. So do what you can to calm her. I had to nurse her in between some of the pictures to calm her before I was able to get her to be still and look at the camera.
I’m sure any photographer will tell you that natural lighting is the best. So find a place in your home where you can open the windows and let the light through. Try some in direct sunlight and some with indirect sunlight and see what you like the best. Where we setup in our house didn’t have direct light coming through, so I took mine in all indirect.

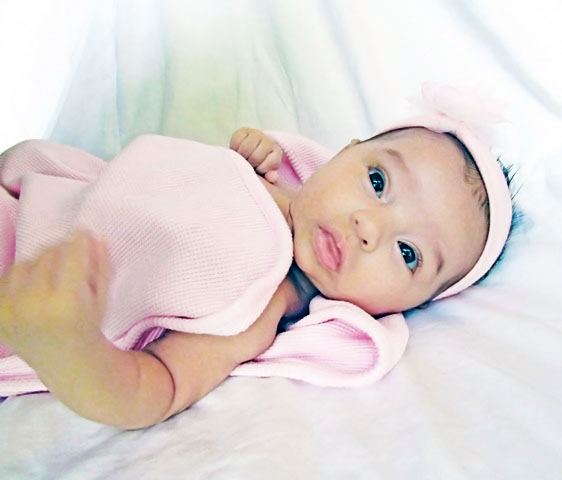
Try different angles and see what works best with the type of light you have. For some I was directly next to her almost where the direct sunlight was coming in from, I tried to get directly on top of her with the camera without casting too many shadows.
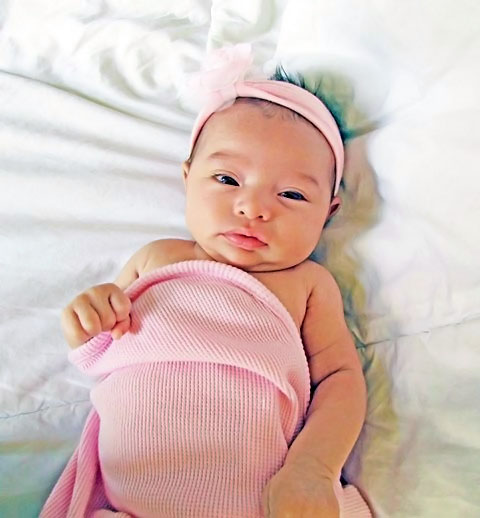
I tried getting lower to the ground but for us the best natural light was coming in from the left hand side. So I positioned myself at her feet, let the indirect light come in from the left.
This proved to be the best lighting for our pictures.
By no means am I a professional, I’m learning as I go but I’ve been experimenting with different picture programs. For these I am using Adobe Elements 10 which is just a simplified version of Photoshop. But you can find just as many free programs out there that do the same things. I know that GIMP is comparable to Adobe Photoshop and it’s free!
The things I used most were- Levels, I used that to help the lighting. I also used the Brightness, Shadow and Contrast options alot as well as the Color Correction. I also used the Reduce Noise effect as the final touch.
Hope you liked the way they came out I know I did. One thing I didn’t do, which I wish I had taken now, was pix of her tiny feet and hands Oh well, an excuse to do another photo shoot!
Update: I figured it was time for an update to this post. I was dabbling in photography with my point and shoot for the longest time, that I finally decided to upgrade to a DSLR camera. Shortly after upgrading I realized that I had a passion for photography. I started a Photography Blog one night and after a few upgrades and workshops later, I’m now doing what I love and sharing it with others. Come check me out at Ivy Rose Photography.