
Not sure what it is about me and the fall weather, but I suddenly get the urge to go out and buy a bunch of burlap  I have been on the lookout to do something with some burlap ribbon that I found on sale last weekend. I’ve never made a fabric garland before but I have seen them all over the internet, so I was inspired to create my own. And since it’s the fall season, I wanted something with natural colors to go with the decor around my house, and of course I needed to have some lace thrown in there.
What girl doesn’t love lace?
Here’s what you need

Here are the steps:
First, cut strips of fabric. You can cut them as thick or thin as you want, and go as short or as long as you want your garland to be. I have seen some pretty long pieces of fabric used for these types of garlands, so it all comes down to preference.
The lace I already had was 2 inches wide, so I decided to just go ahead and make them all that wide.
My fabric pieces came out to be 20 inches in length and 2 inches wide.

Now, I have to warn you on this step. Cutting the burlap will get messy!
Here are a few tips on cutting burlap:
- Spray with water mist beforehand to minimize all the particles from flying in the air during cutting.
- Cut and pull out 1 string of the burlap where you want to cut. Then cut along the line where the string was pulled out. This will help you get a straight cut and minimize unraveling of the rest of the strip.
- Use a rotary cutter.
One more tip…Burlap can be stinky. Spray with Febreeze beforehand, this helps.
Despite the cutting tips, you still might not get straight edges and that’s ok. The beauty of this project is that it doesn’t have to be perfect to be pretty.
After cutting the fabric, cut a slit in the top part of each piece. This is how you’re going to tie the fabric around the twine.

Note: This is my method of tying the fabric to the twine. I have seen it tied all sorts of ways. I personally like the way the tied ends stick out at the top of the knot. If you don’t like that look and want a cleaner look, you can tie the strips onto the twine by first hanging the fabric in front of the twine and then pulling the hanging strands of fabric around the back of the twine and pulling through the loop.
Next, tie the fabric onto the jute twine and space them as far apart as you’d like. I spaced mine about a half inch apart. If you decide later that you want them closer or farther apart, it’s super easy….just slide the pieces together or apart.
Finally, make sure to leave enough twine on the ends to hang. You can hang your new fabric garland over a mantel, a window, on the wall, in an entryway, really…anywhere!
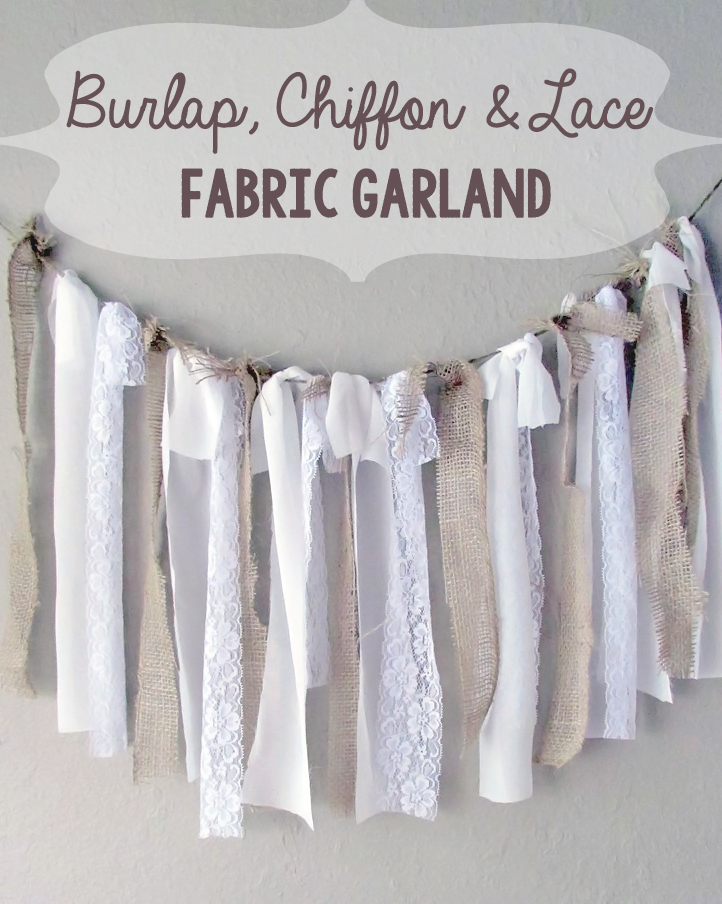
I hung mine on a wall over a table we have in our entryway. I absolutely LOVE the way the rough burlap looks with the soft look of the chiffon and lace.
If you don’t have burlap, chiffon or lace then try another combo with what you have. You can make it your own. You really you can’t go wrong with this project . My favorite types of crafts…where the options are endless!
I hope you enjoyed this tutorial!